- A +
- A
- A -
A well-known aircraft manufacturing company needs to purchase a set of three-dimensional scanning equipment to scan aircraft tires and wheel hubs for later aircraft wheel hub measurement, tire reverse repair, product development and design, etc., saving costs and time and improving the company's competitiveness.
Aircraft tires and hubs are important components of the entire aircraft. The designs of tires and hubs are mostly complex in structure. The hubs are highly matched with the tires and aircraft axles. The hubs have many holes and require high precision.
The black wheel rim material made of aircraft tires is highly reflective and cannot be directly scanned by ordinary 3D scanners. It requires powder spraying before the data can be obtained. This places high requirements on the tools and technologies used for 3D inspection. Recently, a manufacturer specializing in aircraft manufacturing found Hualang, hoping that our company could recommend a suitable 3D scanning solution and purchase equipment.
Scan objects: aircraft tires and wheels
Inspection requirements: Measure the dimensions of car wheels, equipment hole locations, tire wall thickness and overall model
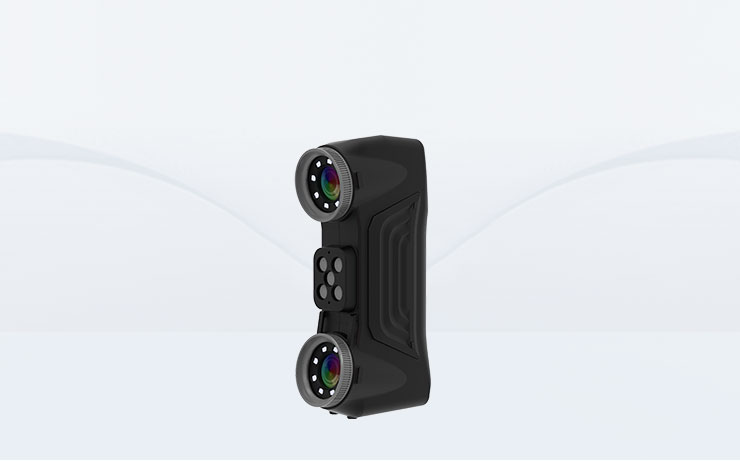
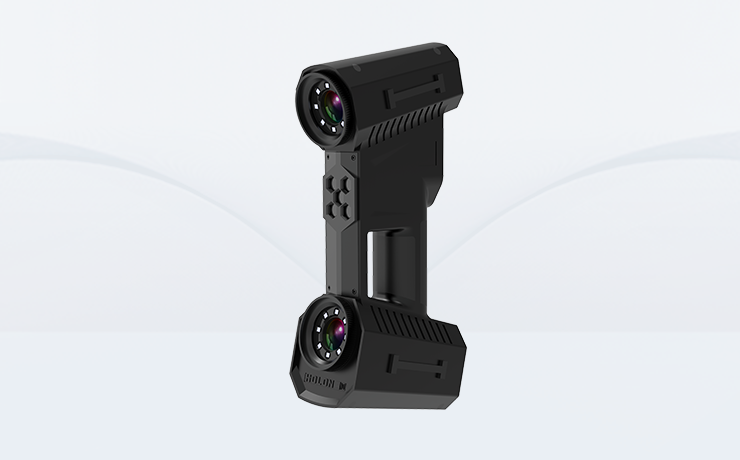
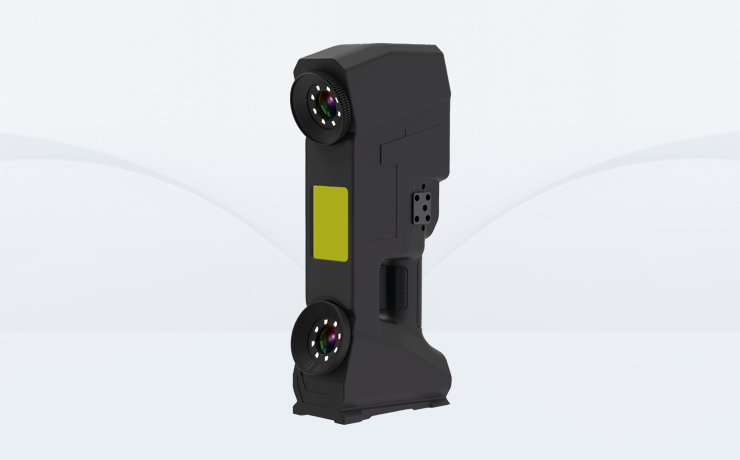
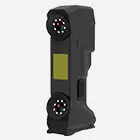
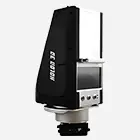
Recommended solution: Smart II laser handheld 3D scanner + 3D inspection software.
Detection steps
Step 1
Use the Smart II laser handheld 3D scanner to 3D scan the aircraft wheel hub (no powder spraying required) to obtain full-size 3D scan data. The operation is simple and the scanning speed is fast, taking only 10 minutes (when the surface of the car wheel hub is highly reflective), and the data will be displayed on the PC in real time during the scanning process.

Aircraft wheel hub on-site scan data

On-site scan of aircraft wheel hub
Step 2
Import the scanned 3D data into HOLON 3D's independently developed 3D inspection software, mark the points to be measured, and the corresponding measurement data can be automatically generated.

Aircraft hub STL data chart
Summary
Traditional aircraft tire scanning hub inspection uses three-dimensional coordinates and traditional manual measurement, but these methods inevitably have varying degrees of problems.
First, the equipment is expensive, and most workpieces are tested in on-site environments and it is impossible to measure them in a laboratory environment;
Second, the traditional method is low in volume and low in efficiency. Users need to invest a lot of time to obtain scan data, which wastes too much manpower and material resources;
Based on user needs, HOLON 3D recommends a handheld laser 3D scanner, which combines scanning efficiency and flexibility. It does not require powder spraying during scanning, is not restricted by the environment and the particularity of the sample, and has high data accuracy. It is especially suitable for aircraft wheel hub inspection and measurement. Reverse tire repair, product development and design, etc.
The solution met the customer's requirements well and provided the following benefits:
1. Smart II has good portability, and the host weight is only 0.6KG;
2. The operation is convenient and simple, and no professional background is required to learn and master scanning skills;
3. It is not limited by the object being measured, and full-size 3D scanning data can be obtained without powder spraying;
4. Wide range of applications and can be used for batch testing
5. Non-contact measurement, fast and accurate.
