Back
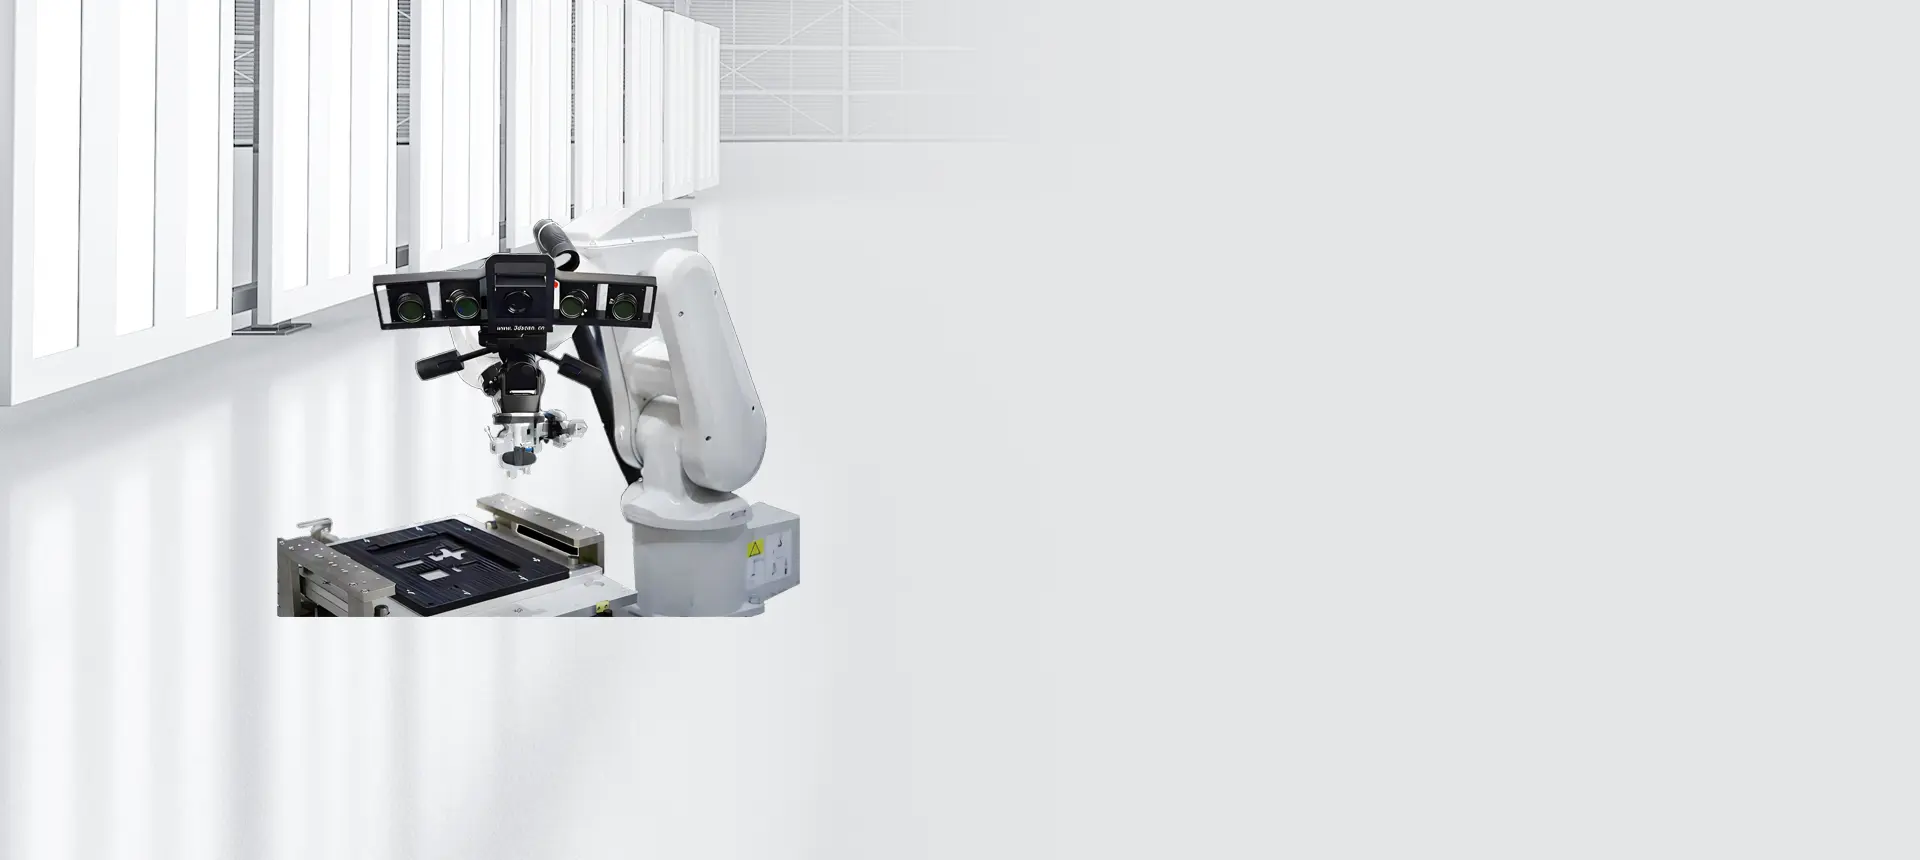
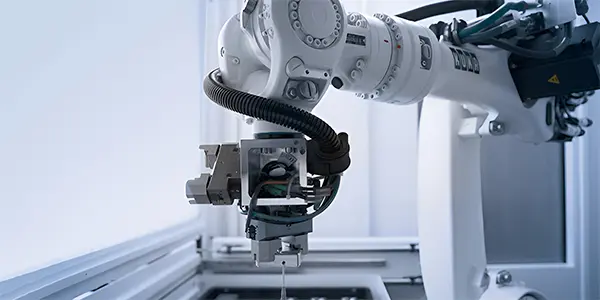
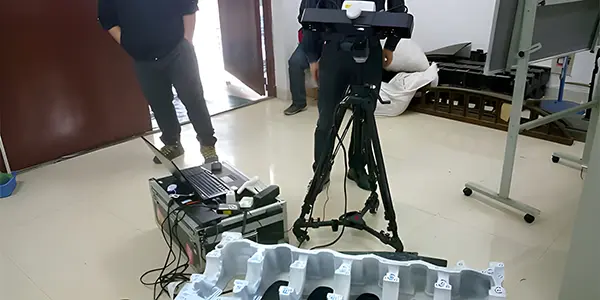
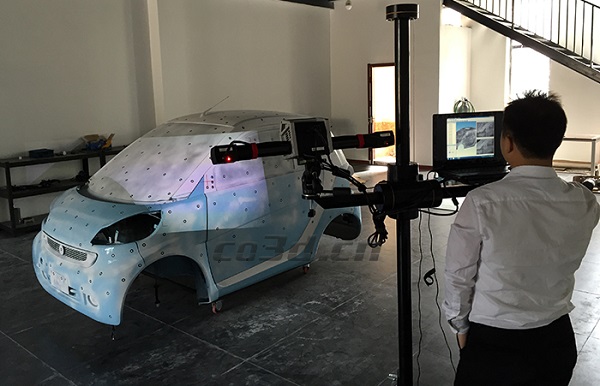
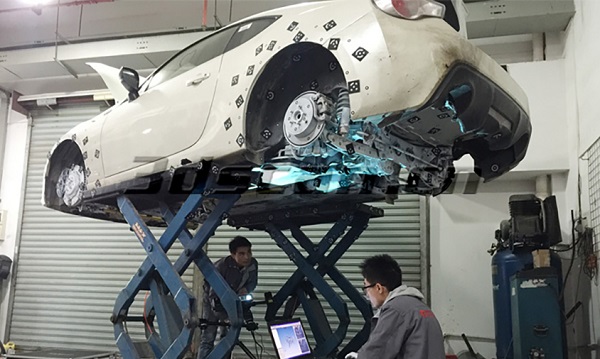
| Model | Superscan II | |
| Scanning mode | Non-contact three-dimensional scanning ( photographic three-dimensional scanning ) | |
| Projection, grating technology | Microstructure light projection and extrapolation multi-frequency phase shift technology | |
| Calibration Technique | Loop coding calibration ( 13 steps ) | |
| Single scan range ( mm ) | Independent mode | 400×300 |
| 100×75 | ||
| Regulatory mode | 200×150 | |
| 50×40 | ||
| Single measurement accuracy ( mm ) | ±0.01 | |
| Single-sided scanning time ( s ) | <5,<3 | |
| Splicing method | Automatic intelligent splicing, manual feature splicing | |
| Scannable object range ( mm ) | 30~1500 | |
| Average sampling point distance ( mm ) | 0.06-0.47 | |
| Industrial three-dimensional photogrammetry ( Accuracy ) | Support industrial three-dimensional photogrammetry splicing project coordinate point file import | |
| Industrycamera | Resolution ( pixels ) | 1.31 million pixels |
| Camera angle ( degree ) | 18 degrees, 27 degrees, 32.5 degrees | |
| Industrial lens ( mm ) | 8, 12, 16, 25, 35 depending on the model configuration | |
| Calibration unit | Metal / Glass / Granite | |
| Industrial operation table | Mobile tripod / professional workbench / heavy operating frame | |
| Data output format | ASC,STL,PLY, IGES | |
| Operating system | Windows xp / windows7 / windows10 32-bit / 64-bit Chinese / English | |
| Light source, energy ( W ) | Standard 100 W halogen LED, 50 W high-energy LED ( White ) ; high-energy lamp ( HPL ) 250 W halogen lamp | |
| Calibration board | Square granite material calibration plate | |
| Working temperature, power supply | 0~40℃、100~240V AC | |
| Examining report | The equipment accuracy test report and calibration version accuracy test report issued by the metrology quality inspection institute | |
| Camera platform | 360 degree free adjustment platform before and after | |
| Scanister | System Size ( mm ) | 440x140x120 |
| System weight ( kg ) | 2.5 | |


Add:4th Floor, Building A2, Fuhai International Science and Technology Park, No. 306 Qiaohe Road, Bao'an District, Shenzhen City, Guangdong Province, China
Tel: +86-0755-86586007 +86-0755-86586285
+86-0755-86701825 +86-0755-86701826
MP:+86-17722409097(Same as WeChat account)
