- A +
- A
- A -
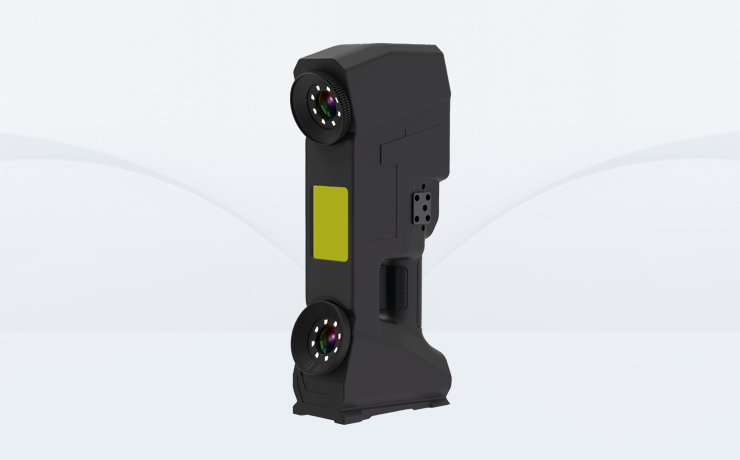
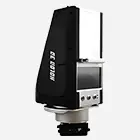
HOLON 3D engineers use the three-dimensional scanner HL-3DW to conduct full-scale analysis of the surface of the ship engine, and finally generate a detailed inspection report. The deviation status of any position can also be displayed numerically.

Scan of ship engine site
1. The size of the ship engine shell is 2m*0.8m*1m, with many curved surfaces and assembly positions. In addition to improving the measurement efficiency and greatly shortening the measurement time, the measurement accuracy must also be well controlled, requiring the global measurement accuracy to be controlled at 0.1mm. within
2. The amount of data obtained from the ship engine casing using traditional measurement methods is insufficient, making it impossible to carry out secondary design and product quality inspection.
A well-known casting company is a relatively experienced company in the large-scale casting industry. The traditional measurement method for engines is to use three-dimensional coordinates to manually mark lines. The three-dimensional coordinates use a contact measurement method. The measurement efficiency is very low, takes about a week, and the accuracy is not high. About 1.5mm, it has low efficiency and poor effect, and does not adapt to the rapid development trend of the market.
The size of the ship engine shell is 2m*0.8m*1m and there are many curved surfaces. The customer mainly detects the processing dimensions, assembly positions, and hole positions. In addition to improving the measurement efficiency and greatly shortening the measurement time, the measurement accuracy must also be well controlled. The requirements The global measurement accuracy is controlled within 0.1mm. After understanding his actual situation, we used the 3D scanner HL-3DW. The entire scanning process took about 3 hours and the accuracy was 0.1mm. This completely exceeded the company's expected one-day scanning completion time. . Shorten the cycle, reduce costs, reduce risks, improve quality, and enhance corporate competitiveness.
By importing the obtained three-dimensional data of the Mercedes-Benz ship engine into the inspection software, the differences between the Mercedes-Benz turbine blade (CAD) model and the manufactured parts of the product can be quickly detected, and the differences between the two can be displayed with intuitive and easy-to-understand graphical comparison results.

Ship engine STL data chart

Ship engine STL data chart

Comparative inspection chart of ship engine
